INSTALL & USER GUIDE

Installation & Quick Start Guide

Step-by-step visual instructions to install SuperRes Studio and run your first AI super-resolution or frame interpolation job (approx. 5–10 min including first-time AI runtime setup).

Note: Screenshots show the Japanese installer UI from Trial Video as an example. You can select English during setup (Step 2-2) and switch the app UI language to English anytime.
STEP 1

Allow Windows SmartScreen & Launch Installer

Extract the downloaded .zip and double-click the installer (e.g., SuperResStudio_Trial_Video_Setup_v1.0.0.exe). Windows may display a SmartScreen prompt on first launch.

Why this appears: This initial indie release does not yet carry a paid EV code-signing certificate. Files downloaded from our official website or official GitHub Releases are safe to run.

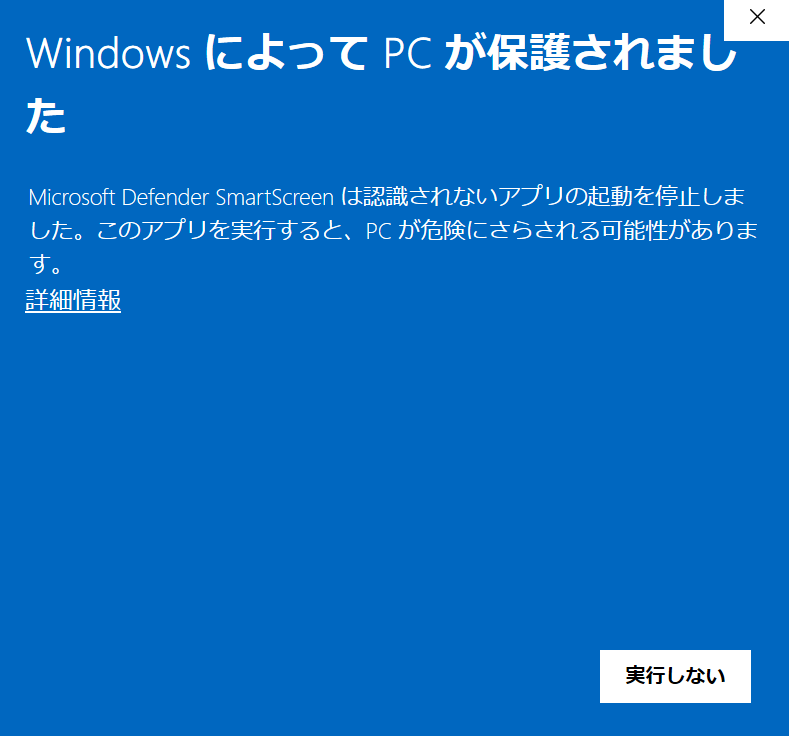
1-1. Click "More info" (詳細情報)

On the blue SmartScreen prompt, click the More info link on the left.
Windows SmartScreen More info

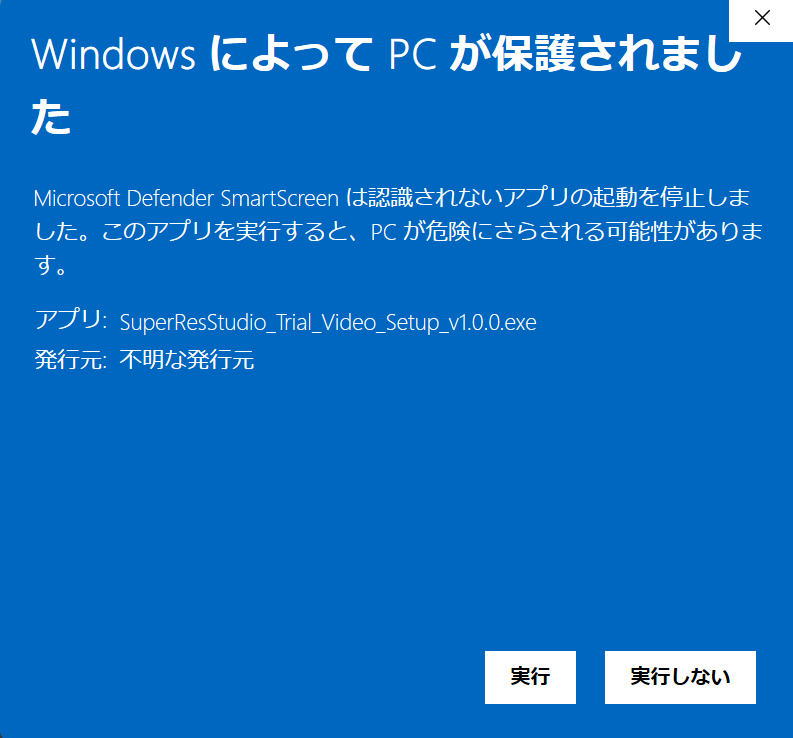
1-2. Click "Run anyway" (実行)

Click the Run anyway button at the bottom right to start the installer.
Windows SmartScreen Run anyway
If blocked by Windows 11 Smart App Control (SAC):
Check Windows Security > App & browser control > Smart App Control. On up-to-date Windows 11 builds, you can temporarily toggle SAC Off and back On afterward (if your Windows 11 is not updated, turning SAC Off cannot be reversed without reinstalling Windows).
STEP 2

Configure Installer Options

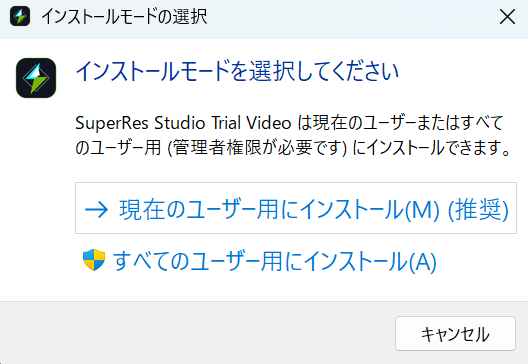
2-1. Select Install Mode

Select Install for me only (recommended) — no administrator privileges required.
Select Install Mode

2-2. Select Setup Language

Choose English (or Japanese) from the dropdown and click OK.
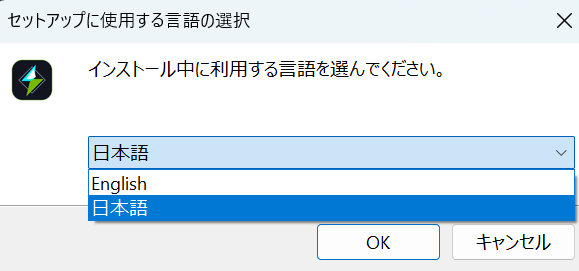
Select Setup Language

2-3. Choose Install Location

Keep the default folder or click Browse to choose another drive, then click Next.
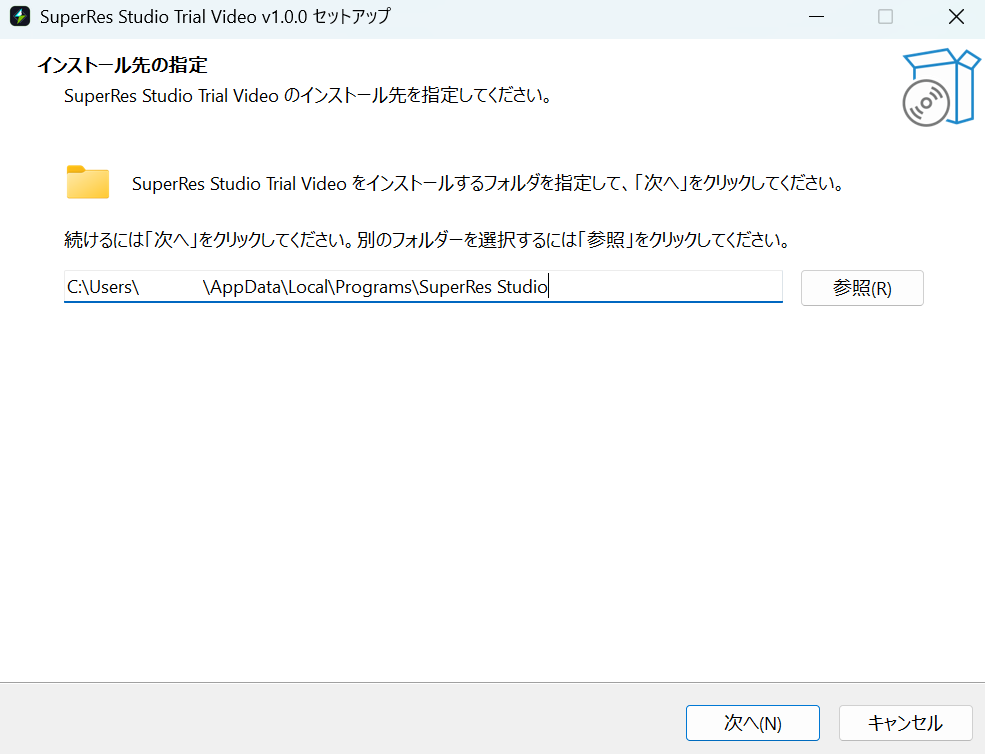
Choose Install Location

2-4. Additional Tasks

Keep Create a desktop icon checked if desired, then click Next.
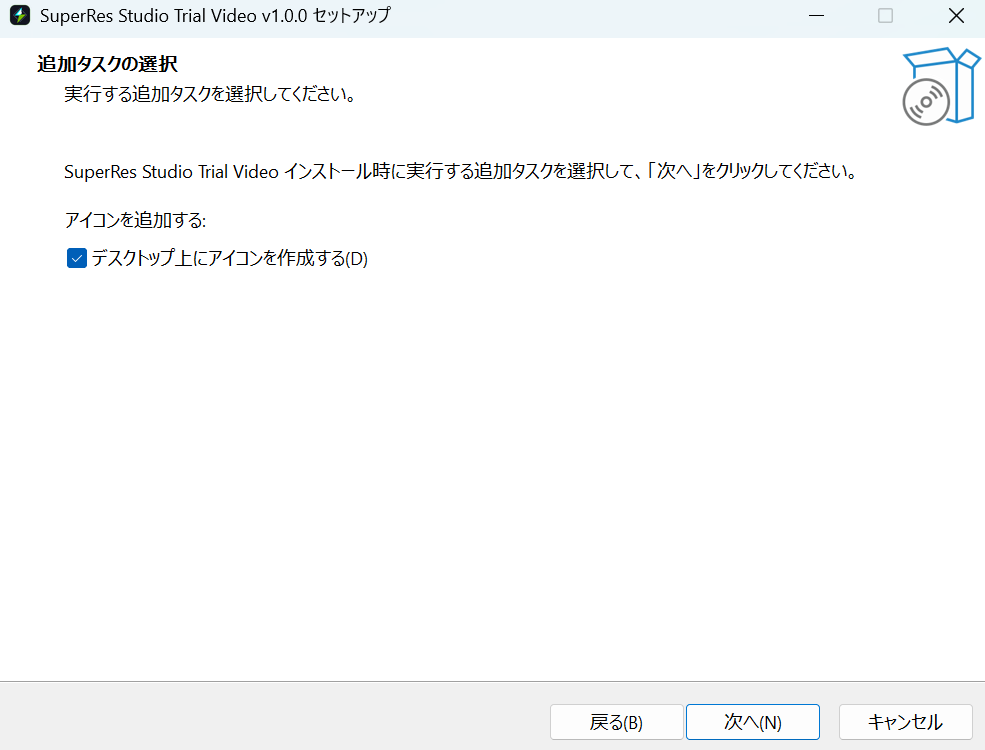
Additional Tasks

2-5. Start Installation

Review your settings and click Install.
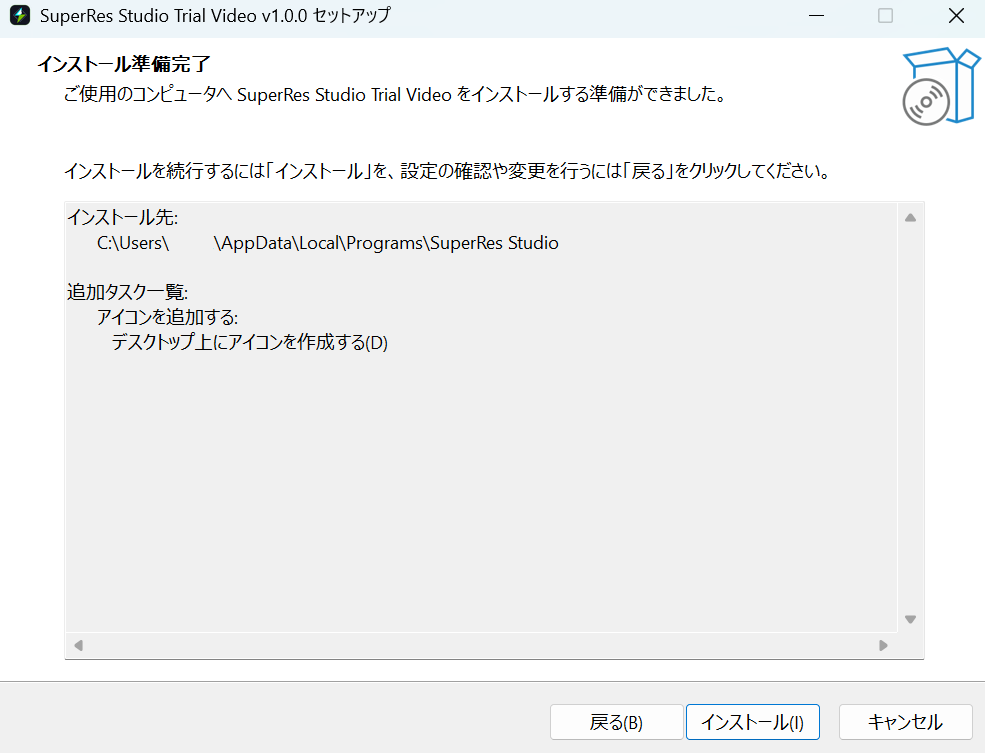
Ready to Install
STEP 3

Automatic AI Runtime Setup (First Time Only)

The installer automatically checks for the shared NVIDIA Tensor Core AI runtime.
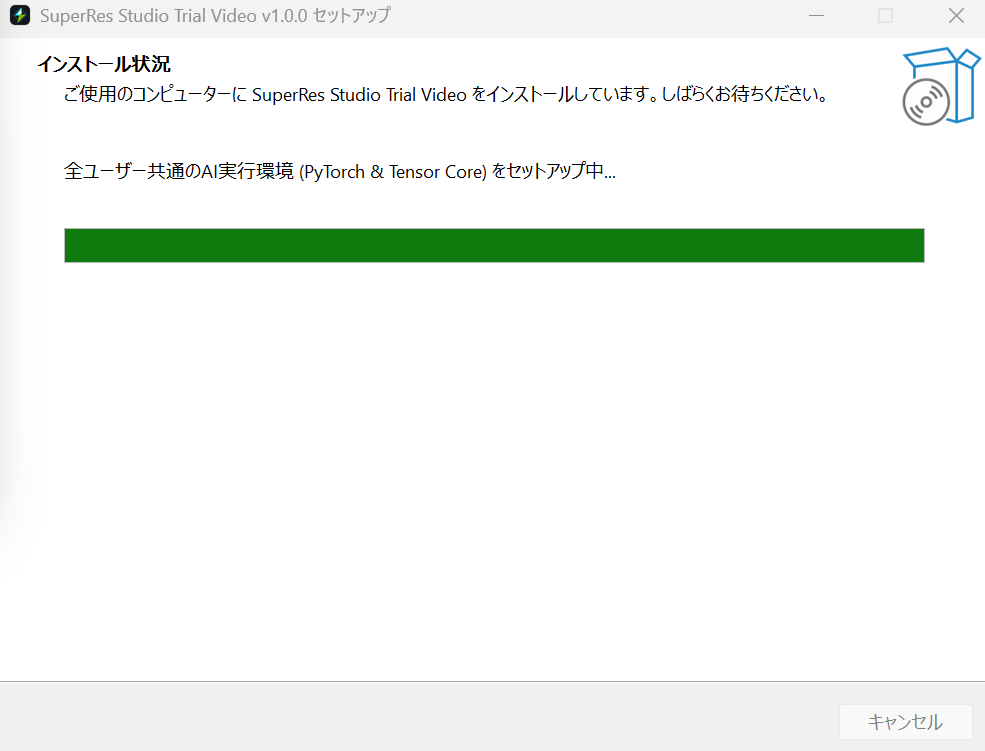
Installing progress

3-1. Confirm First-Time Setup ("Yes")

On your first installation, click Yes when prompted to download and configure the AI runtime components.
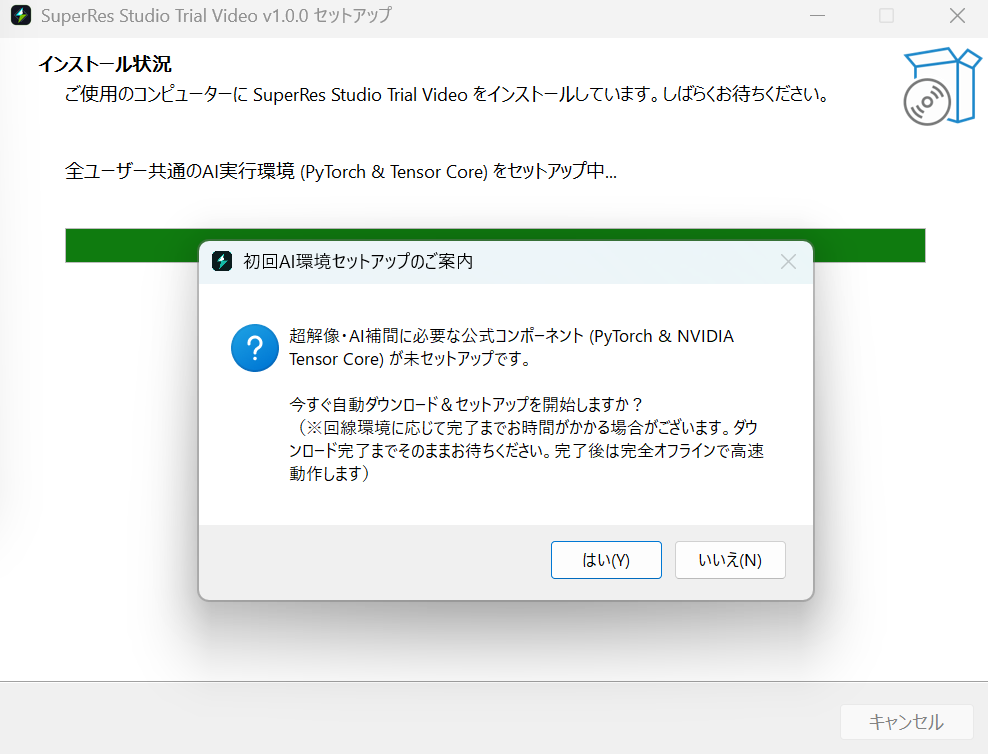
AI Environment Setup Prompt

3-2. Wait for Automatic Download to Complete

PyTorch and NVIDIA Tensor Core components are downloaded and configured automatically.
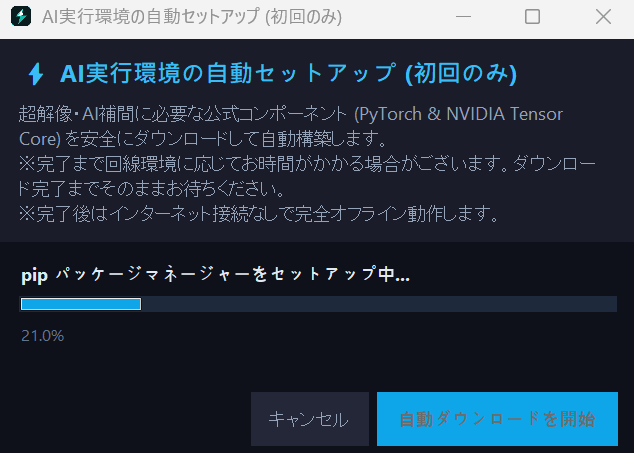
100% Offline After Setup: Depending on your connection speed, this may take a few minutes. Please do not cancel. Once finished, the app runs completely offline with zero internet required.
AI Environment Downloading

3-3. Finish Setup

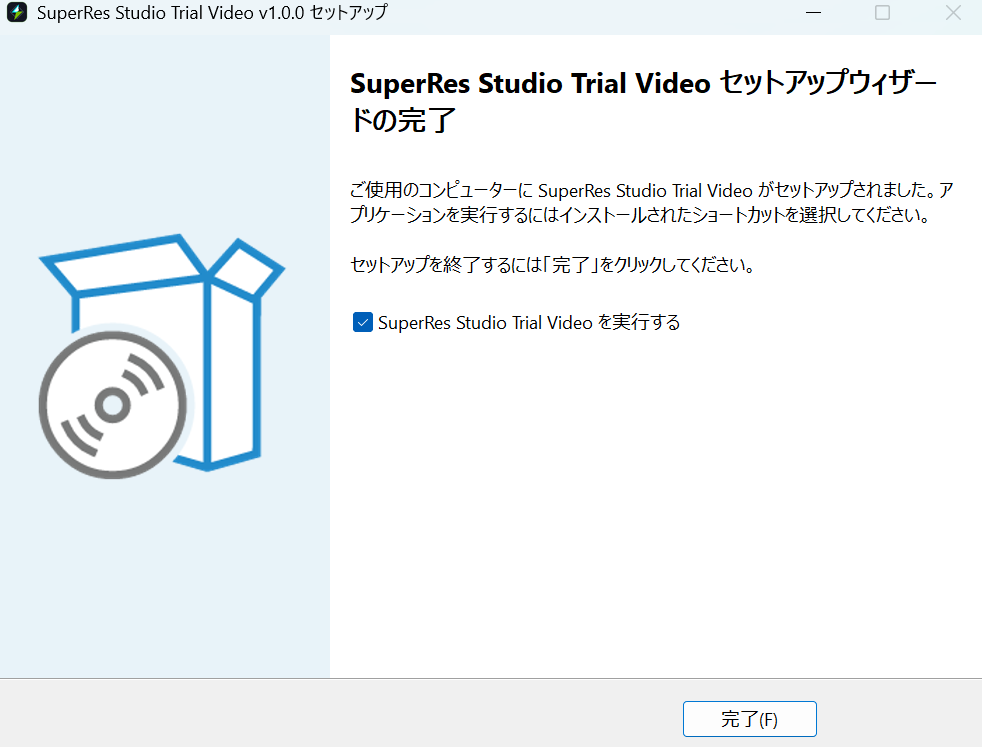
Once the progress bar completes, click Finish to launch SuperRes Studio.
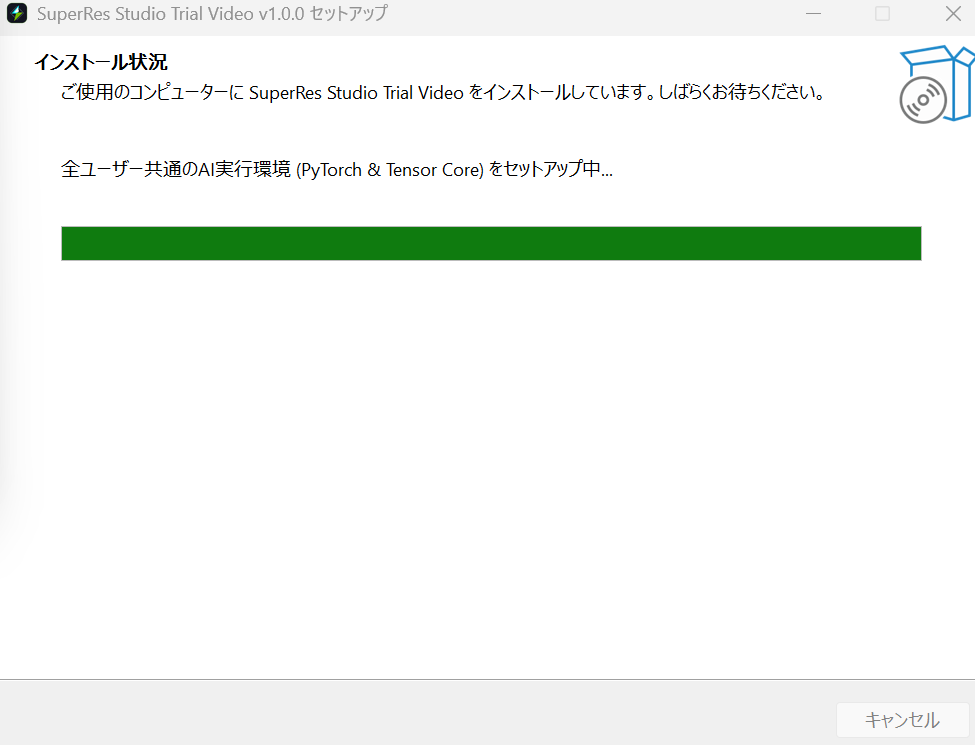
Finishing installation
Setup Complete
STEP 4

Basic App Usage (4 Simple Steps)

Once the app opens, you can enhance your images or videos in seconds:
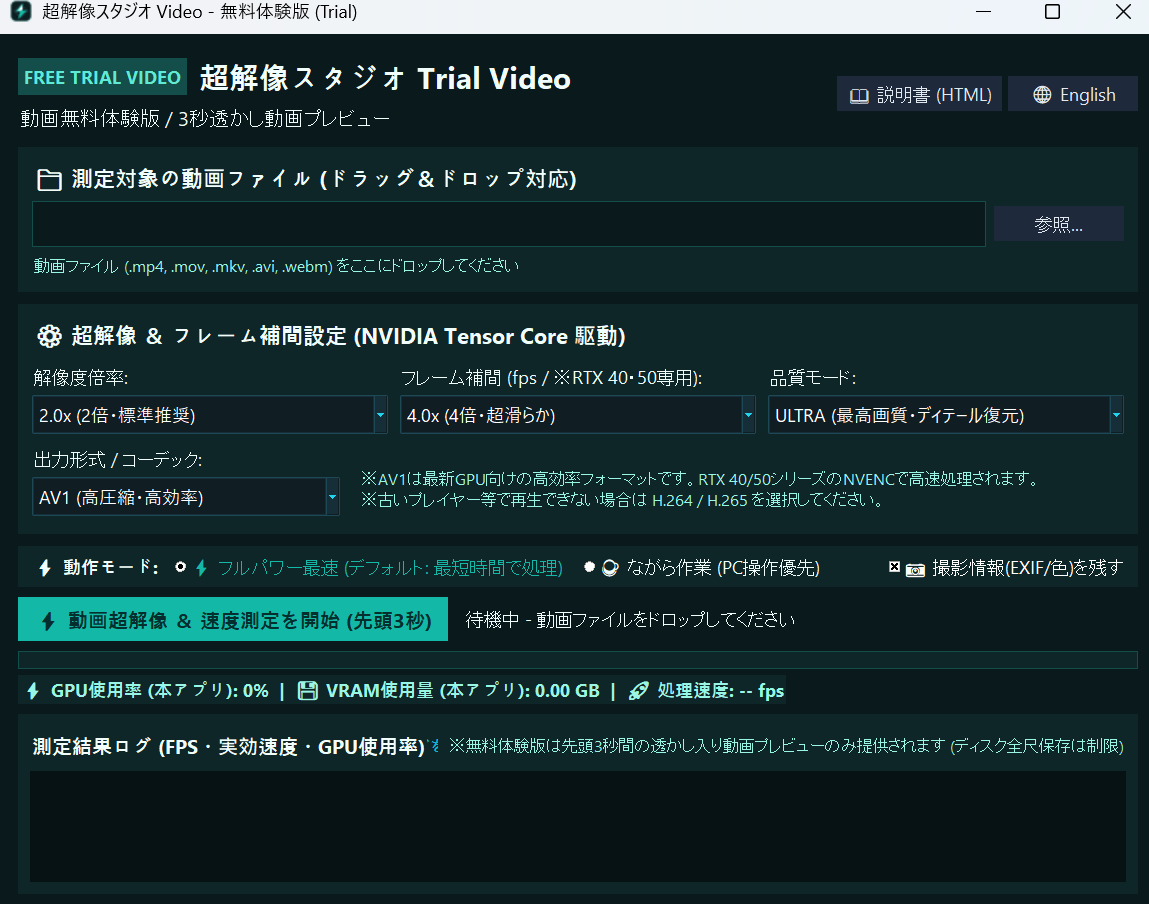
SuperRes Studio Main UI
  1. Drag & Drop Your File: Drop a video (.mp4, .mov, .mkv, .avi, .webm) or image into the top box, or click Browse.
  2. Choose Upscale & Interpolation Settings:
    ・Scale: Default is 2.0x (e.g., 1080p to 4K).
    ・Frame Interpolation: Select 2.0x or 4.0x for smoother motion (RTX 40 / 50 series only).
    ・Quality Mode: ULTRA is recommended for maximum detail restoration.
    ・Codec (Video): Choose AV1 for RTX 40/50 high-efficiency output, or H.264 / H.265 for broad player compatibility.
  3. Select Power Mode: Switch between Full Power (Fastest) and Background Mode (low GPU load while multitasking).
  4. Click Start: Monitor real-time GPU usage, VRAM usage, and FPS in the status bar below.
Tip: Click the English button in the top-right corner of the app window to switch the in-app UI to English anytime.